Cinematic Elements - A Sound Effects Journey - SFX Bundle
No items found.

Cinematic Elements - A Sound Effects Journey - SFX Bundle

$ 29.00 
$ 59.00 

Welcome to Cinematic Elements

Dive into the world of sound with Cinematic Elements, your ultimate source for high-quality sound effects meticulously crafted for filmmakers, game developers, and audio enthusiasts. Our expansive collection is designed to enhance your projects with immersive audio experiences that bring your creative visions to life. Whether you’re working on a film, video game, podcast, or any multimedia project, our sound effects will transport your audience to another realm.

Experience Cinematic Elements: A Sound Effects Journey - Immerse in Nature, Feel Fire’s Intensity, Explore Futuristic Sounds, Add Textured Depth, Build Tension, Experience City Life, and Capture Wind's Essence. Each sound pack is curated to provide you with the diverse audio tools necessary for any project.

At Cinematic Elements, we are passionate about sound design and dedicated to providing you with the tools necessary to elevate your creative projects. With our comprehensive collection of high-quality sound effects, you can create engaging audio experiences that resonate with your audience and enhance your storytelling. Join us on this auditory journey and unlock the potential of sound in your work.
Features of Our Sound Effects Bundle

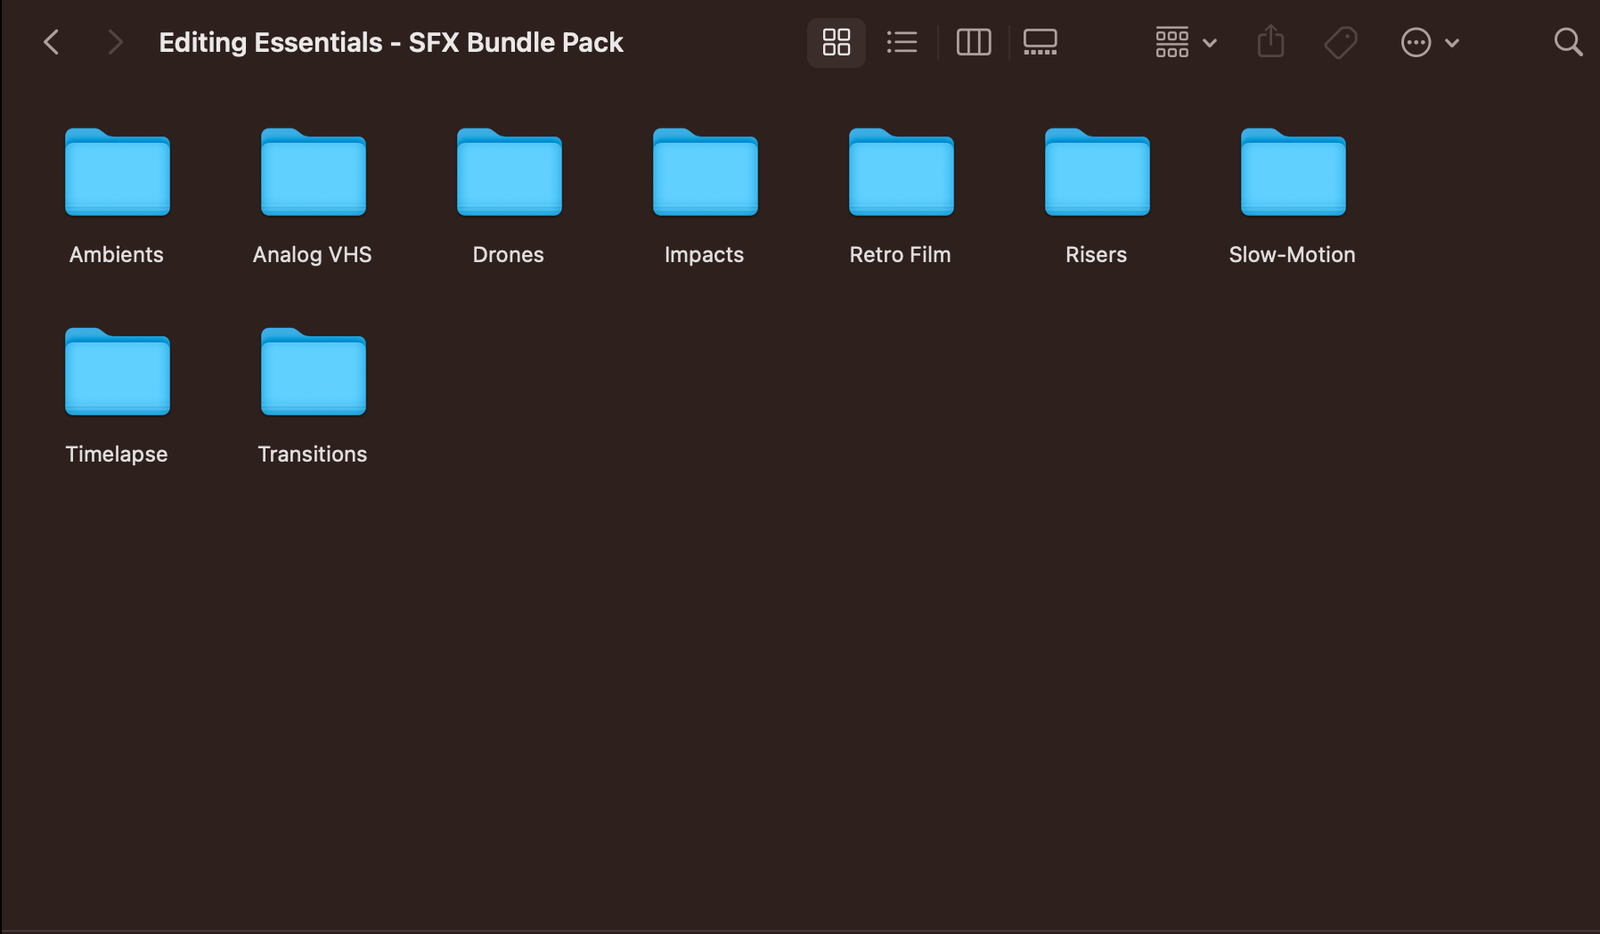
Ambience: Experience serene sounds of nature, creating authentic backdrops.

City Life: Capture urban soundscapes with bustling crowds and city ambiance.

Fire Elements: Harness dynamic sound effects perfect for action scenes.

Riser Elements: Build suspense with powerful risers for climactic moments.

Sci-Fi Soundscapes: Explore otherworldly sounds for futuristic storytelling.

Textured Sounds: Add depth with textures like fabric swishes and paper crumples.

Experimental Elements: Discover unconventional sounds for innovative projects.

Whoosh and Transitions: Create seamless transitions with dynamic whooshes.

Vehicles: Enhance scenes with realistic vehicle sounds.

High-Quality Audio: Professionally recorded and edited for pristine sound quality.

User-Friendly Navigation: Browse, preview, and purchase sound packs effortlessly.

Instant Downloads: Access your sound effects immediately for quick integration.

Versatile Applications: Suitable for film, games, podcasts, and multimedia projects.

Regular Updates: Get new sound packs and updates to keep your library fresh.

Frequently Asked Questions

Installing presets depends on the software you're using. Here's a quick guide for popular applications:

Adobe Lightroom: Go to the Develop module, click the "+" button under the Presets panel, and import your presets.

Adobe Photoshop: Open the "Actions" panel, click the menu icon, and select "Load Actions" to install your presets.

Capture One: In the "User Presets" panel, right-click and select "Import," then choose your preset files.

Affinity Photo: Go to the "Presets" panel, click the "Import Preset" button, and select your preset file.

Our presets are provided in formats such as LRTemplate (Lightroom), .XMP (Lightroom and Capture One), and .ATN (Photoshop Actions). Here's how they align with popular software:

Adobe Lightroom: Supports .XMP, LRTemplate.

Adobe Photoshop: Supports .ATN (Actions).

Capture One: Supports .XMP (imported directly).

Affinity Photo: Supports .AFPreset.

To use presets in Lightroom Mobile:

1. Transfer your preset files to your mobile device (ensure they’re in .DNG format for Lightroom Mobile).

2. Import the preset file into the Lightroom mobile app via the "Presets" section.

3. Apply the preset to your photos and adjust settings as needed for your desired look.

Our presets are designed for photo editing, but similar color grading effects can be achieved in video editing software. If you need similar results, we recommend using color grading tools like LUTs in video editors like Adobe Premiere Pro or DaVinci Resolve.

Yes, most editing software allows you to adjust the intensity of a preset. For example:

In Adobe Lightroom, use the "Amount" slider in the Preset panel to adjust the strength of the effect.

In Adobe Photoshop, adjust the opacity of the "Action" layer to control the intensity of the preset.

In Capture One, you can adjust the preset strength via the "Preset Strength" slider.

If the presets look incorrect, consider these factors:

Ensure your photo is correctly exposed and the white balance is set properly.

Check if the image profile matches the preset's intended look (e.g., "Adobe RGB" vs. "sRGB").

If you're using RAW images, make sure the software supports RAW presets.

Our presets are ideal for:

Wedding photography

Fashion and lifestyle shoots

Portrait photography

Modeling and creative projects

Personal photo edits and artistic enhancement

Yes, our presets are designed to work with RAW images. However, for best results, ensure your RAW files are properly processed in the editing software before applying the preset.

Yes! Many mobile photo editing apps like Lightroom Mobile support presets. Simply transfer your preset files to your mobile device and apply them in the app’s preset section.

On lower-end devices, applying presets may cause some lag, especially when working with high-resolution images. If performance is an issue, consider optimizing your workflow by reducing image resolution or using lighter presets.